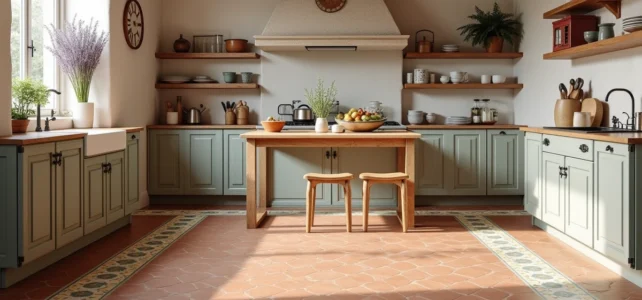
Combining new tiles with old terracotta tiles is not just a simple aesthetic choice. Reclaimed terracotta imposes technical constraints that most decorative guides overlook: irregular thicknesses, variable porosity, sensitivity to hygrometric variations. Here, we discuss the factors that truly determine the success of such a combination.
Installation constraints on old screed and compatibility with underfloor heating
Old terracotta tiles have irregular thicknesses that complicate any connection with calibrated modern tiles. Before choosing a format, it is essential to assess the thickness difference between the existing tiles and the intended covering. A leveling screed is almost always necessary in transition areas.
The choice of adhesive is crucial. On an old substrate, a rigid adhesive of class C1 will cause cracks within a few months. We recommend a flexible adhesive of type C2S1 or C2S2, capable of absorbing the micro-movements of the structure and the dimensional variations of the terracotta.
When underfloor heating is integrated into the renovation, the constraints become even stricter. The surface temperature must be capped at 28 °C to avoid floor deformations. This excludes very large formats (over 60×60 cm), whose expansion surface amplifies the risks of detachment. Medium formats, laid with sufficiently wide joints, limit mechanical tensions across the entire floor.
As detailed by La Maison Info, the choice of complementary tiles depends as much on the installation conditions as on the desired visual effect.
Ceramic stoneware with terracotta effect or genuine new terracotta: technical arbitration
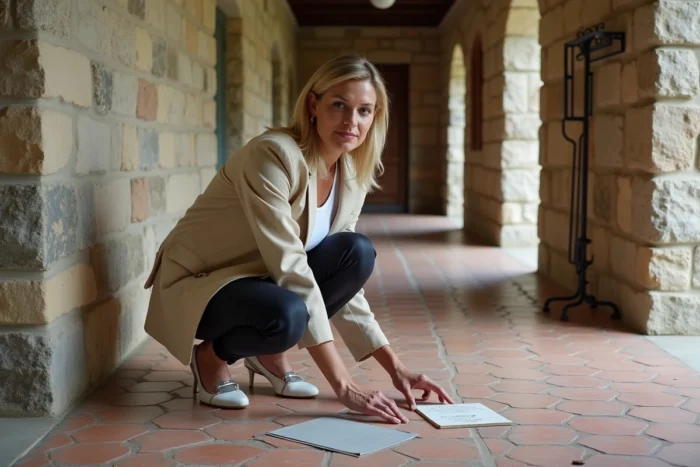
The common reflex is to lay ceramic stoneware imitating terracotta next to old tiles. This option is appealing due to its ease of maintenance and regular calibration. In reality, the visual result depends on the level of patina of the existing tiles.
A very worn old tile, with rounded edges and a surface satin-finished by decades of wax, creates a stark contrast with new ceramic stoneware, even if it has a “aged effect.” The difference in texture to the touch and light reflection immediately reveals the artifice. In this case, new artisanal terracotta ages visually better than ceramic stoneware.
Ceramic stoneware retains the advantage in humid rooms. In bathrooms or kitchens, the porosity of untreated new terracotta poses a problem. Ceramic stoneware offers almost zero water absorption, making it suitable for water projection areas without waterproof treatment.
- New artisanal terracotta: natural patina consistent with old tiles, but requires waterproof treatment in humid areas and regular maintenance with wax or linseed oil.
- Ceramic stoneware with terracotta effect: precise calibration, water resistance, minimal maintenance, but noticeable texture gap next to real patinated tiles.
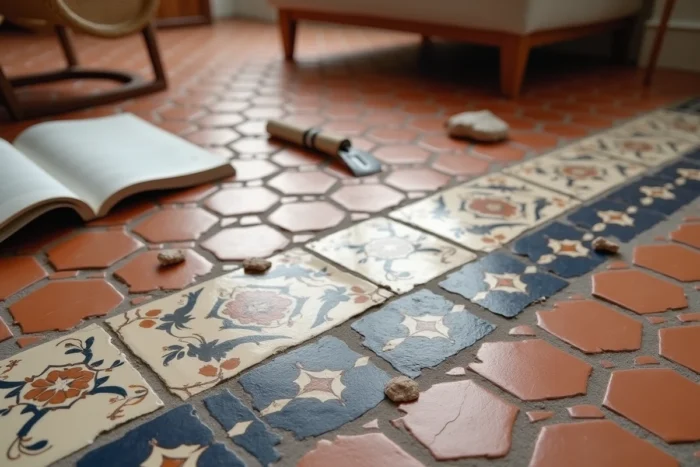
- Cement tiles: an alternative to create a deliberate contrast rather than an imitation, with a graphic rendering that dialogues with the warmth of terracotta without trying to copy it.
Color palette and joints: the mistakes that distort the tiles
The choice of colors for the complementary tiles deserves reasoning by elimination rather than inspiration. Old terracotta tiles lean towards shades of brick red, rosy ochre, or sienna earth depending on the clay’s origin and the degree of original firing.
A pure white or light gray tile creates too sharp a break that visually isolates the tiles instead of enhancing them. We observe better results with sandy tones, warm beige, taupe gray, or light terracotta, which share a common chromatic base with terracotta.
The joint is the most underestimated element. A white joint between the tiles and the new tiles creates a sharp boundary that fragments the floor. A tonal joint (ochre, sand, or light brown) softens the transition and unifies the reading of the floor. The width of the joint also matters: a joint of 3 to 5 mm absorbs the dimensional discrepancies between irregular tiles and calibrated tiles.
Surface treatment of tiles before combining with new tiles
Installing new tiles next to untreated old tiles is like comparing raw fabric to ironed fabric. The difference in finish is glaring. Before any combination, the tiles must be prepared.
A light stripping removes layers of old, dirty wax without attacking the patina. Applying a hard oil or a treatment based on natural wax revives the original color and evens out the surface. This step modifies the colorimetric perception of the tiles, which directly influences the choice of the associated tiles.
- Very patinated tiles (matte surface, faded color): treatment with linseed oil to revive the hue before selecting the complementary tiles.
- Dirty but still colored tiles: gentle stripping followed by a colorless wax, which is enough to restore the shine without altering the shade.
- Tiles in good condition: a simple cleaning with black soap is sufficient before laying the adjacent tiles.
The prior treatment of the tiles conditions the final choice of tiles. Selecting a beige tile to accompany dull tiles, then reviving those tiles afterward, can create an unanticipated color mismatch. Always treat the tiles before validating the tile sample.
The association between old tiles and new tiles relies on technical as well as decorative decisions. The substrate, adhesive, format, joint, and prior treatment of the tiles form a coherent whole. Neglecting any one of these parameters jeopardizes the durability of the floor and the visual harmony sought.